// pressable how-to guides
Setting up single sign-on (SAML and SCIM) on Pressable
For agencies and teams, Pressable supports SAML single sign-on with an identity provider, so people log in with the company account and lose access the day they leave.
KEY TAKEAWAYS
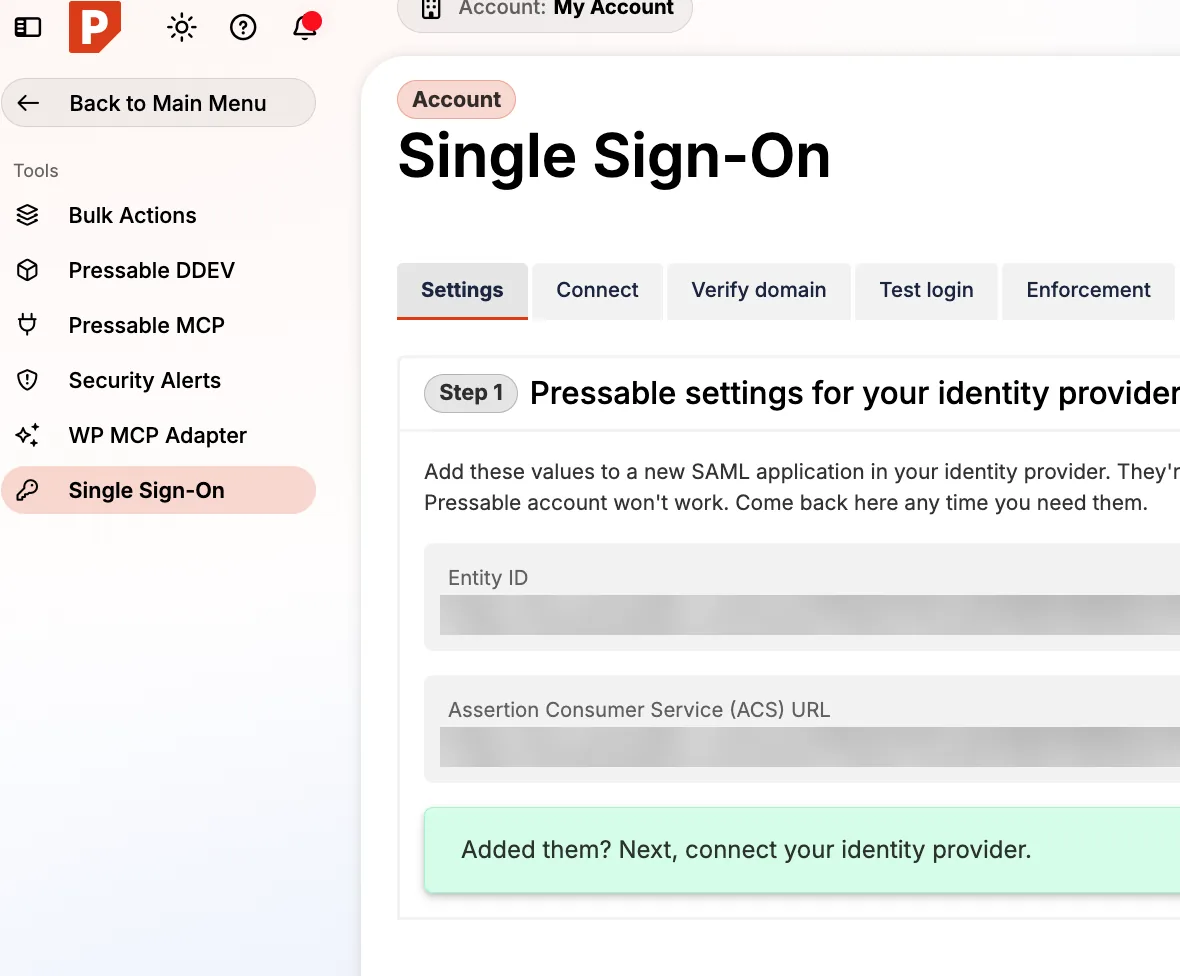
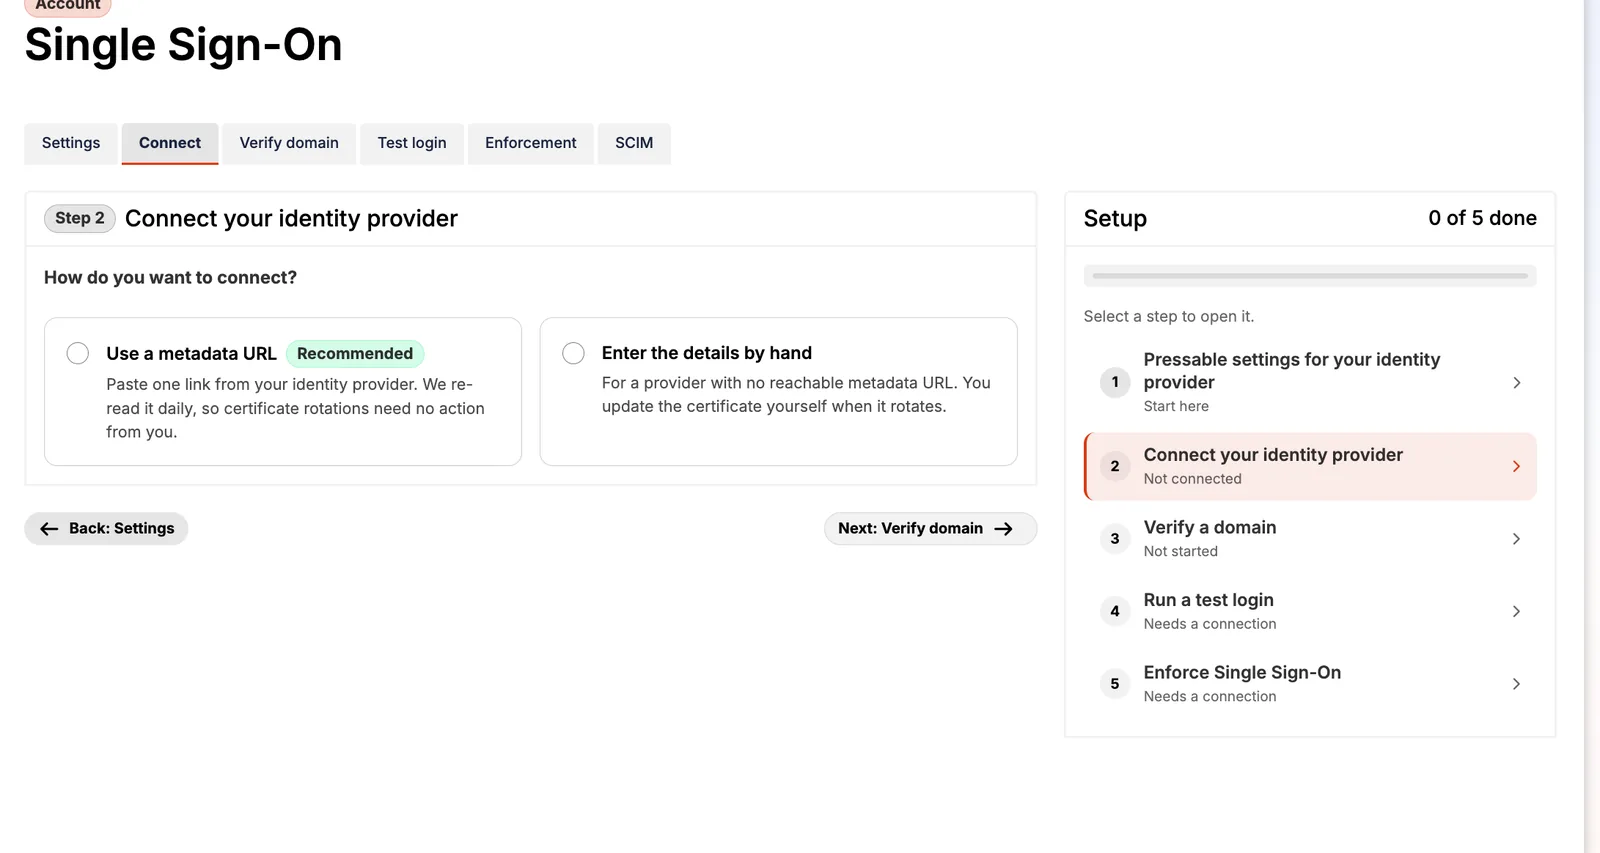
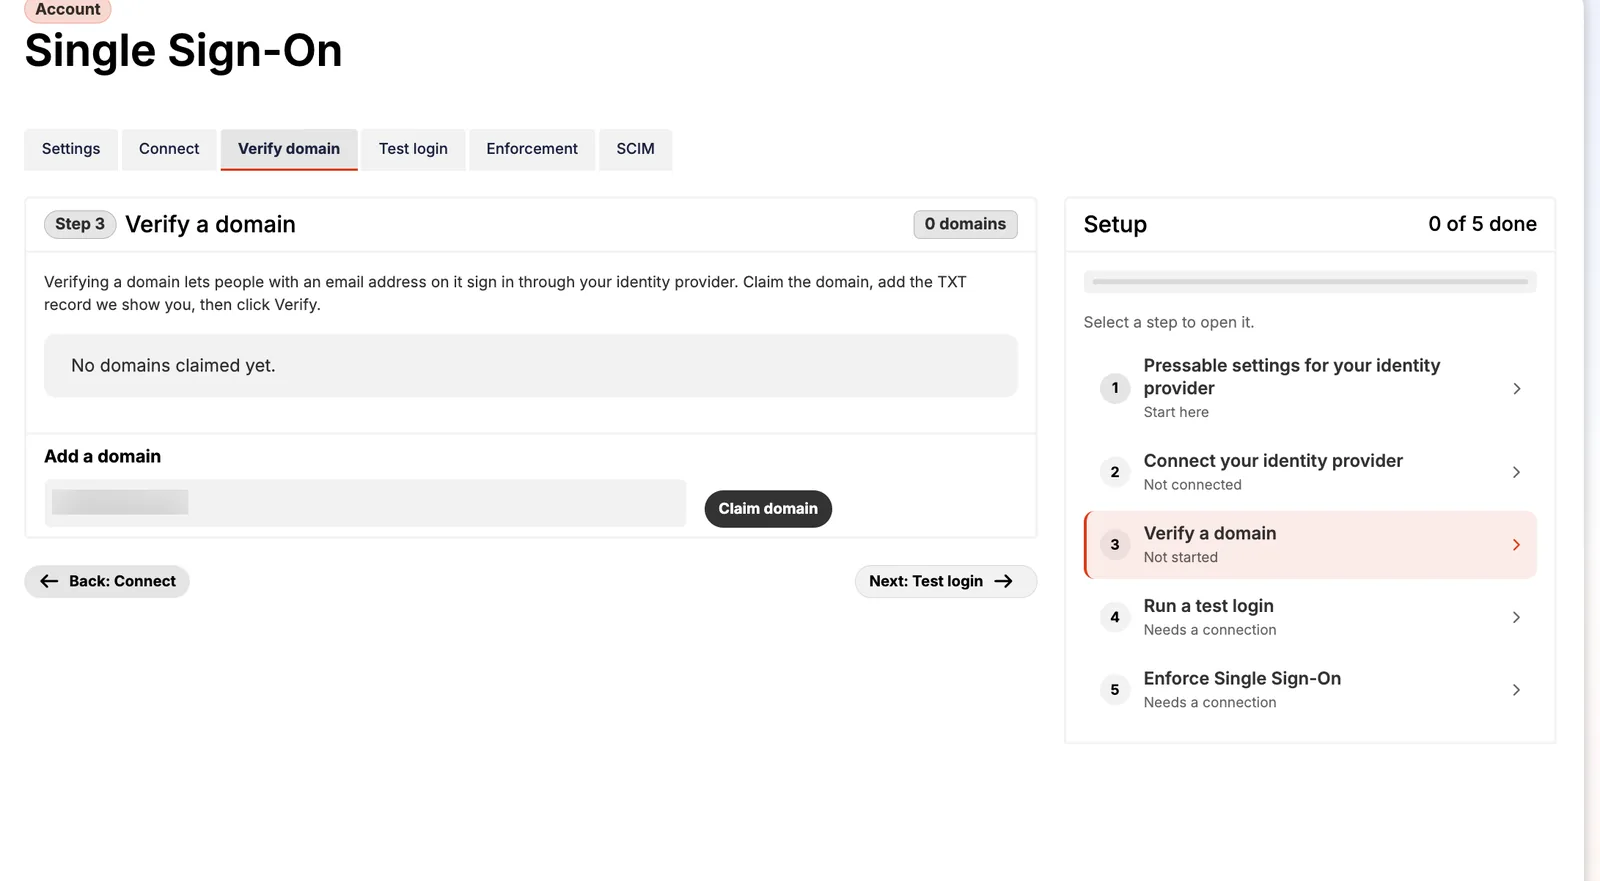
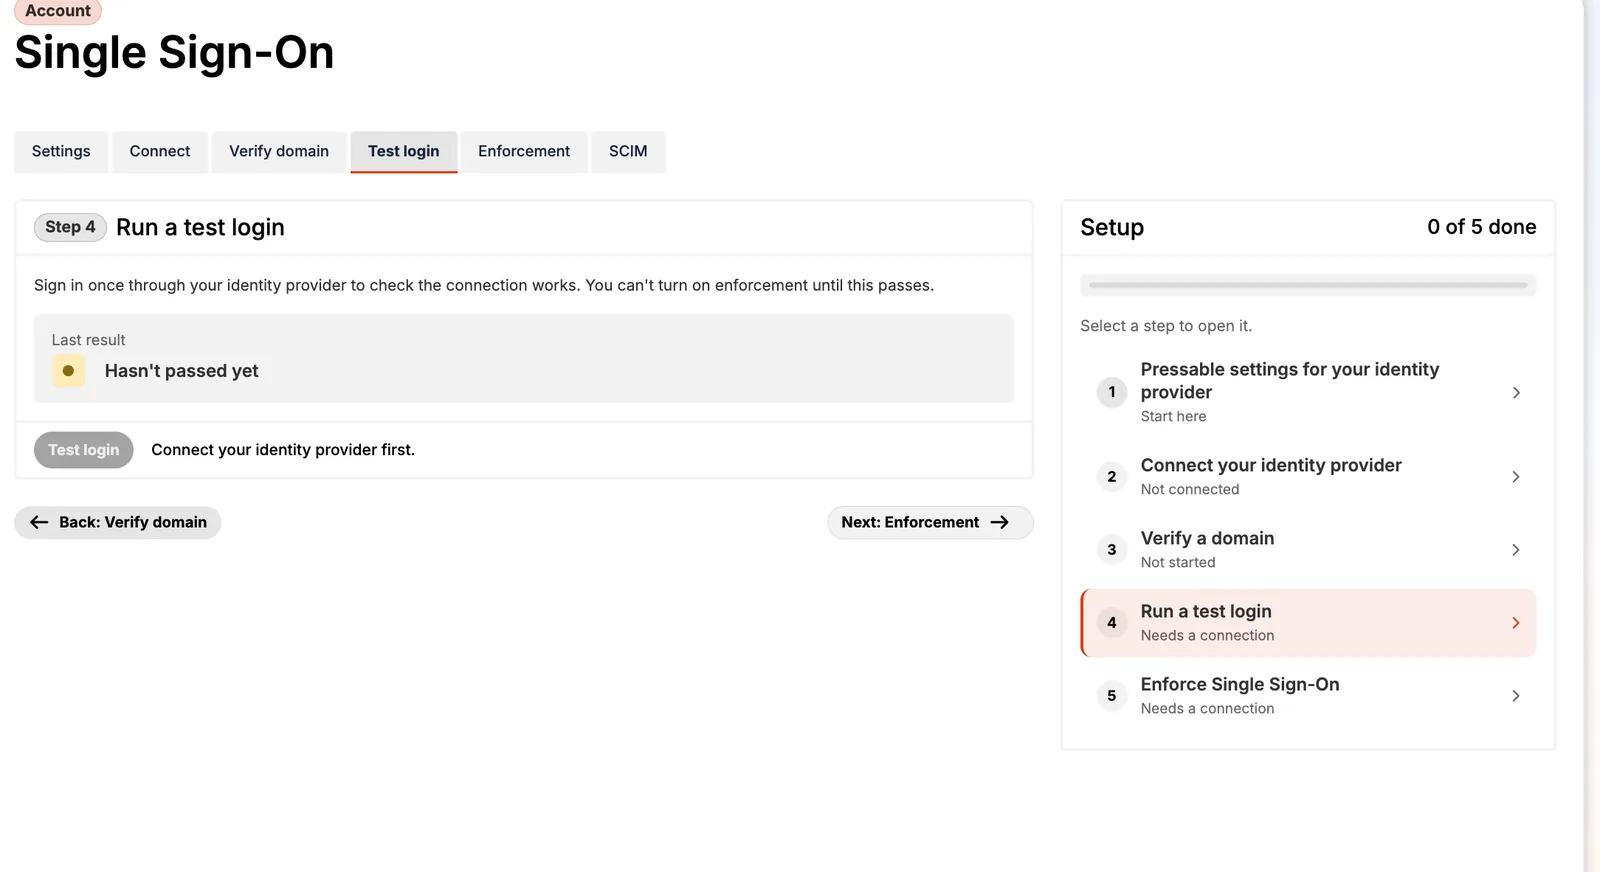
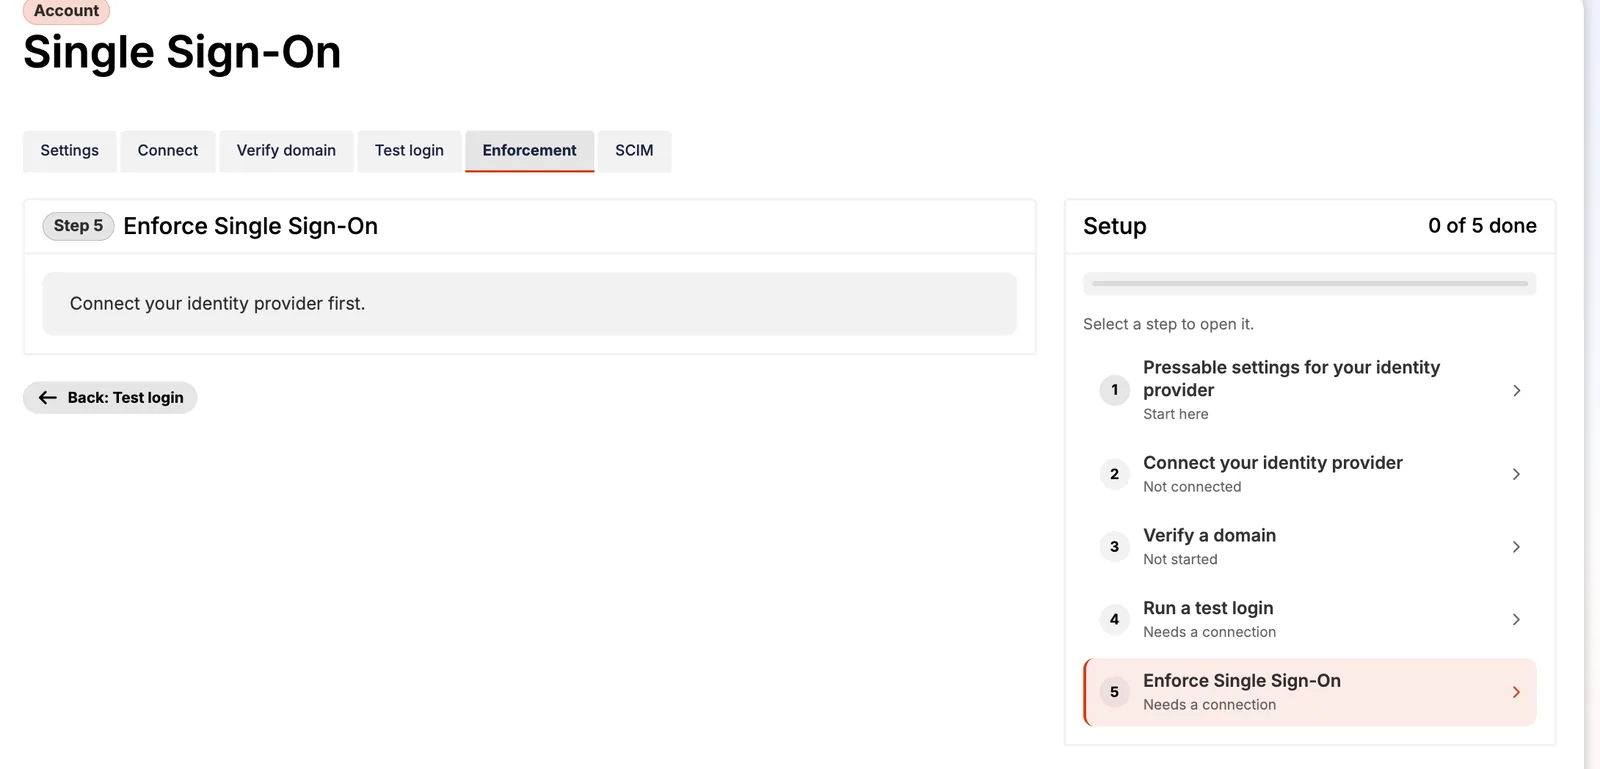
- Tools → Single Sign-On has a 5-step wizard: Pressable settings, connect, verify domain, test login, enforce.
- You copy Pressable's Entity ID and ACS URL into a new SAML app at your identity provider.
- Domain verification uses a DNS TXT record.
- Enforce only after a successful test login.
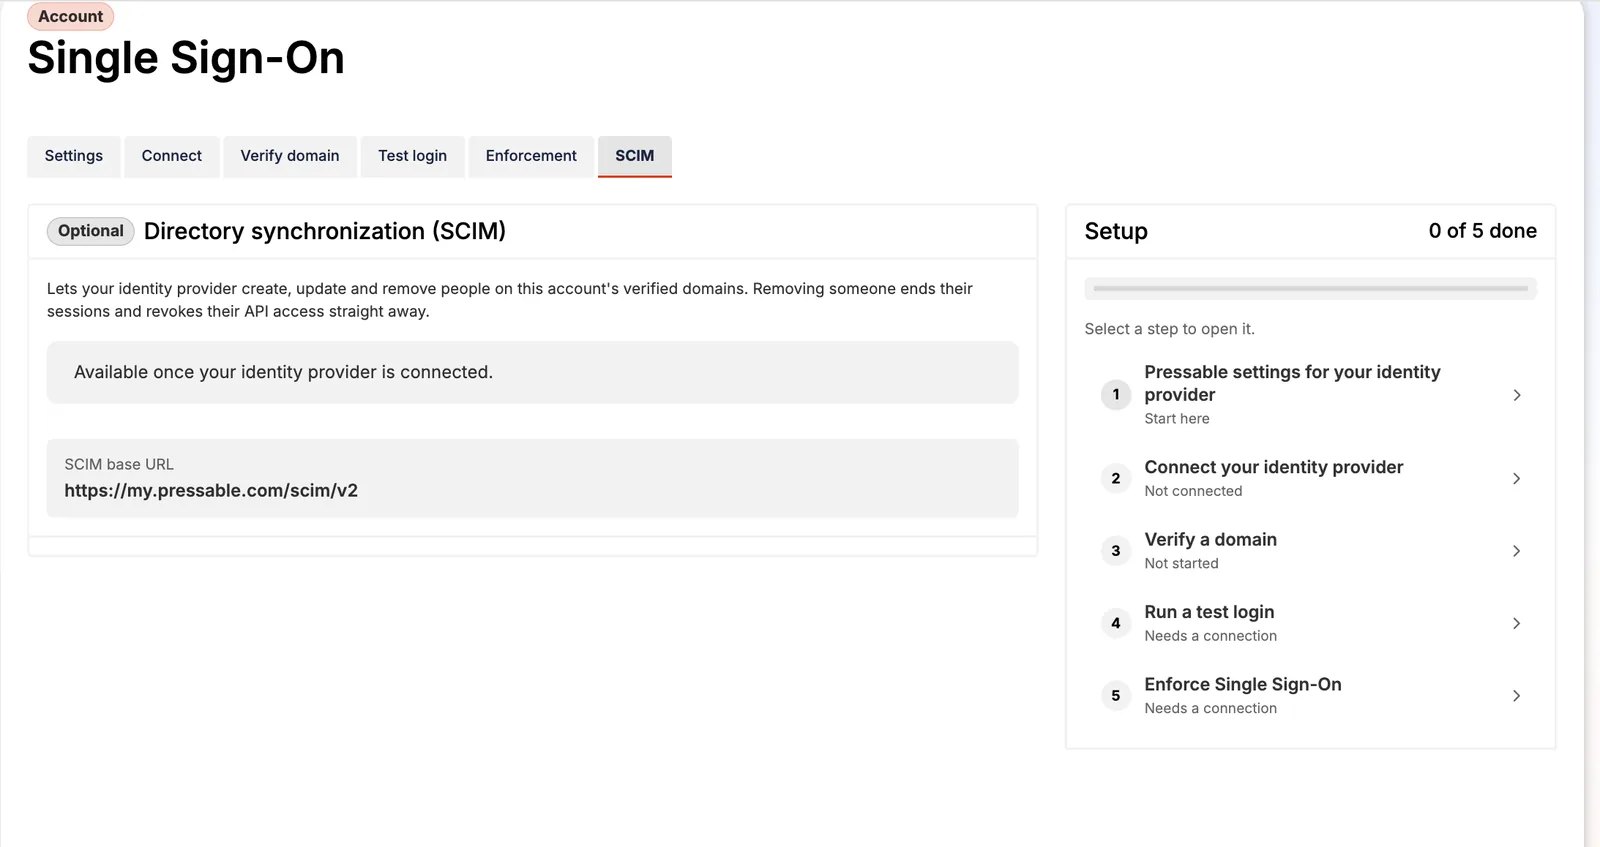
- SCIM keeps users in sync automatically (optional).
The 5 steps
- Settings: copy Pressable's Entity ID and Assertion Consumer Service (ACS) URL into a new SAML application at your identity provider.
- Connect: paste the provider's metadata URL (Pressable re-reads it daily, so certificate rotations just work) or enter details by hand.
- Verify domain: add a TXT record, then claim the domain. People with email addresses on that domain sign in through your provider.
- Test login: required before enforcement.
- Enforce: turn on SSO for everyone.
Tips
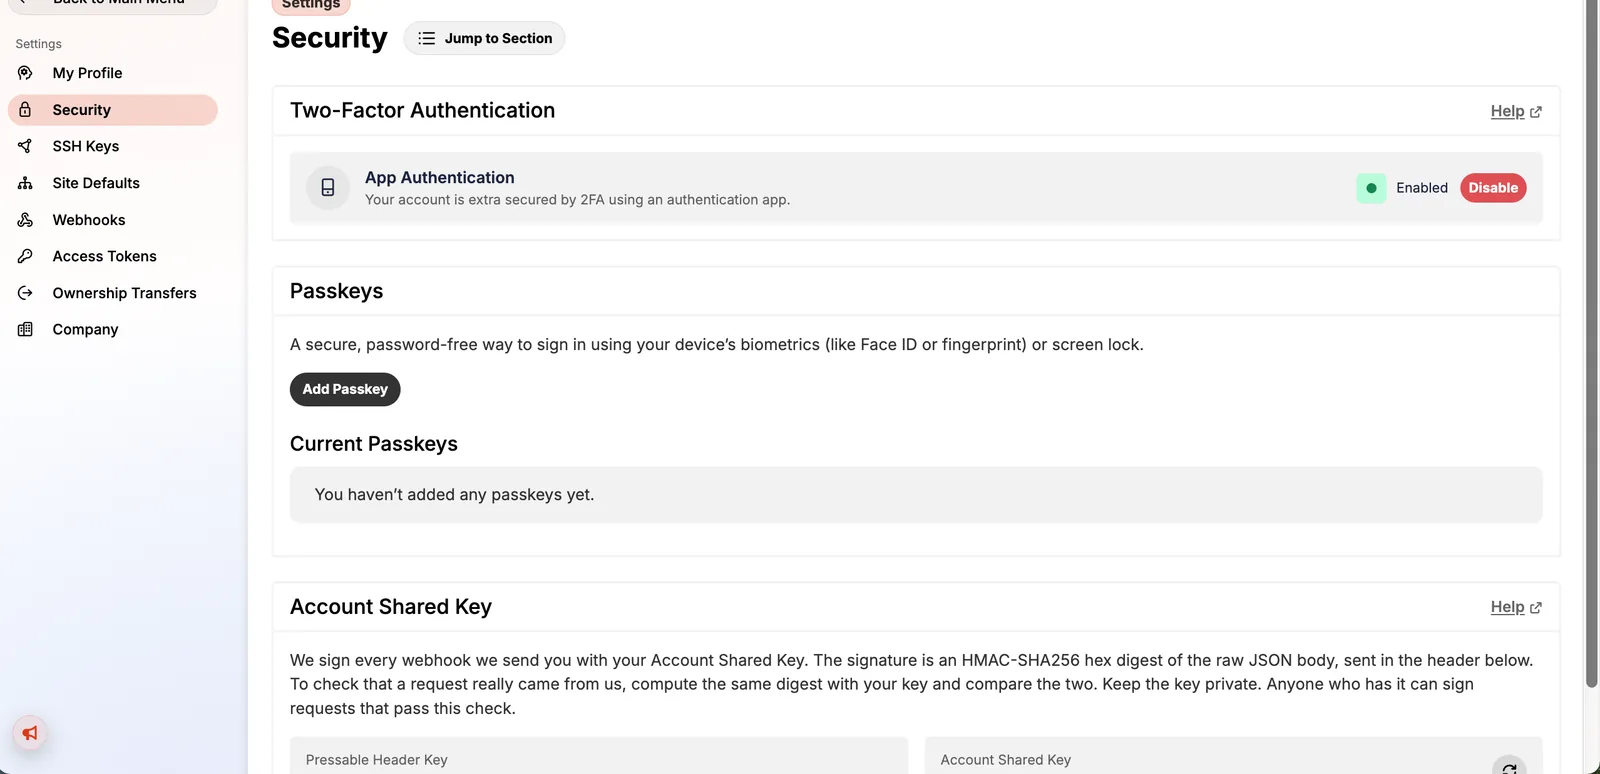
- Keep one owner account outside SSO as a break-glass login, protected by 2FA or a passkey.
- Use SCIM if people join and leave often, so access is removed automatically.
- Without SSO, still turn on 2FA and passkeys under Settings → Security.
FAQ
Does Pressable support SAML SSO?
Yes, with domain verification, test logins, enforcement and optional SCIM.
Keep reading
Pressable how-to guidesPressable for agencies: bulk actions, transfers & ZapierThe Pressable features agencies use to manage many WordPress sites: bulk actions, collaborators, tags, site ow…Pressable how-to guidesPressable Edge Rules: block countries, bots & AI crawlersHow to use Pressable Edge Rules to block or challenge countries, allow only your IP into wp-admin, keep AI cra…reviewPressable review: 9 years as a customerreviewPressable dashboard tour (57 screenshots)